Realistic Camera Model (15 pts)
Implementation
Added files:
realistic_camera.cppfloatfile.cppfloatfile.hbounds.h
This feature replaces the standard perspective pinhole camera with a more realistic camera model to simulate complex optical effects.
My implementation very closely follows PBRTv3's implementation of a realistic camera, explained in section 6.4.
The only notable difference is that PBRTv3 uses a sampling strategy based on Hammersley points for bounding the exit pupil (more on that later)
whereas I simply use the Independent sampler that Nori comes with.
As a first step, we need to load a lens description file which defines all lens elements through a radius, thickness, refraction coefficient
and aperture radius.
This is done in the RealisticCamera constructor and populates a vector of LensElementInterface structs, which also use
units converted to meters, whereas the lens description files obtained from public PBRTv3 scenes
use millimeters.
For parsing and reading the floats from the file into a vector, I use floatfile.cpp, which is a only slightly adapted version from PBRTv3.
Also in the constructor, the lens system is focused to the focusDistance specified by the user, using the thick lens approximation to compute
how far the image film needs to be moved from the last lens element.
Finally, in the constructor we also precompute bounds for the exit pupil. The exit pupil is the region of the back element of the lens system where
rays which actually exit the lens system into the scene pass.
By thus sampling the exit pupil instead of the full back element of the lens system, we drastically reduce the amount of wasted rays (rays not leaving
lens system due to being blocked by the aperture stop or intersecting the lens system enclosure).
Note that the bound we compute is an over-approximation, thus many rays will still end up not exiting the lens system.
As I have to do quite a lot of computations with bounds in my code, I have adapted the Bounds2f class
from the PBRTv3 source code (see bounds.h).
Apart from these involved precomputations, the main part of our RealisticCamera is its sampleRay function, described in the following.
First, we sample a point on the image film (which now has an actual size that can be set through filmDiagonal).
Secondly, we sample a point on the exit pupil, using the precomputed exit pupil bounds and create a ray going from the film sample to the exit pupil sample.
Next, we trace this ray through the lens system by calling TraceLensesFromFilm.
If this function returns false, our ray was blocked and we return 0 for the weight of the ray.
Otherwise, all that is left is to transform the ray from camera to world space and return the importance weight associated with the sampled ray.
Validation
I validated my implementation by comparing with PBRTv3. In the first part of this validation, I will show comparisons with PBRTv3 using different lens systems (Fisheye, D-Gauss, Telephoto), but keeping all other parameters fixed. In the second part, I will keep the lens system fixed and vary the other parameters, namely focusDistance and apertureDiameter. Note that I have used higher sample counts than PBRT to roughly match their noise levels since PBRT importance samples sphere area emitters, whereas from our Nori assignments we only uniformly sample sphere area emitters (for more details, see PBRTv3 section 14.2.2).
Part 1 - Lens Systems
The following images compare three lens systems while keeping all other parameters at fixed values, namely:
                            apertureDiameter = 6.08 mm,
                            focusDistance = 5.0 m,
                            filmDiagonal 70.0 mm
These images already showcase complex optical effects such as vignetting and lens distortion.
Muller 16mm/f4 155.9FOV fisheye lens (scaled to 10 mm from 100 mm)

SIGLER Super achromate telephoto, EFL=254mm, F/5.6 (scaled to 250 mm from 100 mm)

D-GAUSS F/2 22deg HFOV (scaled to 50 mm from 100 mm)

Part 2 - Camera Parameters
In this part, we only use the D-GAUSS F/2 22deg HFOV lens system and vary other camera-related parameters.
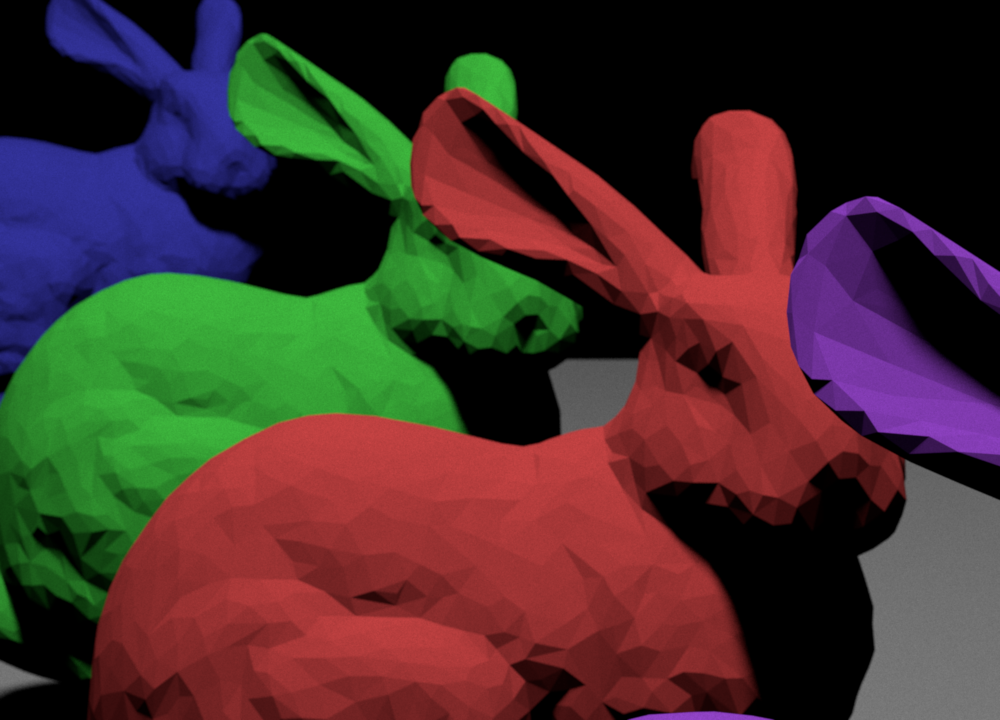
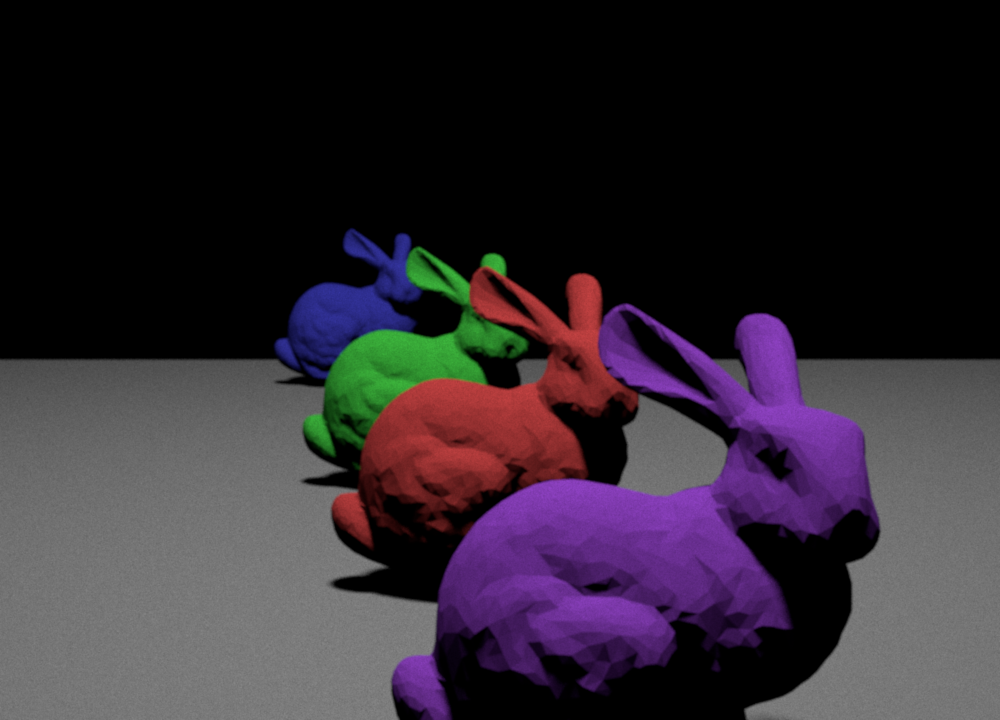
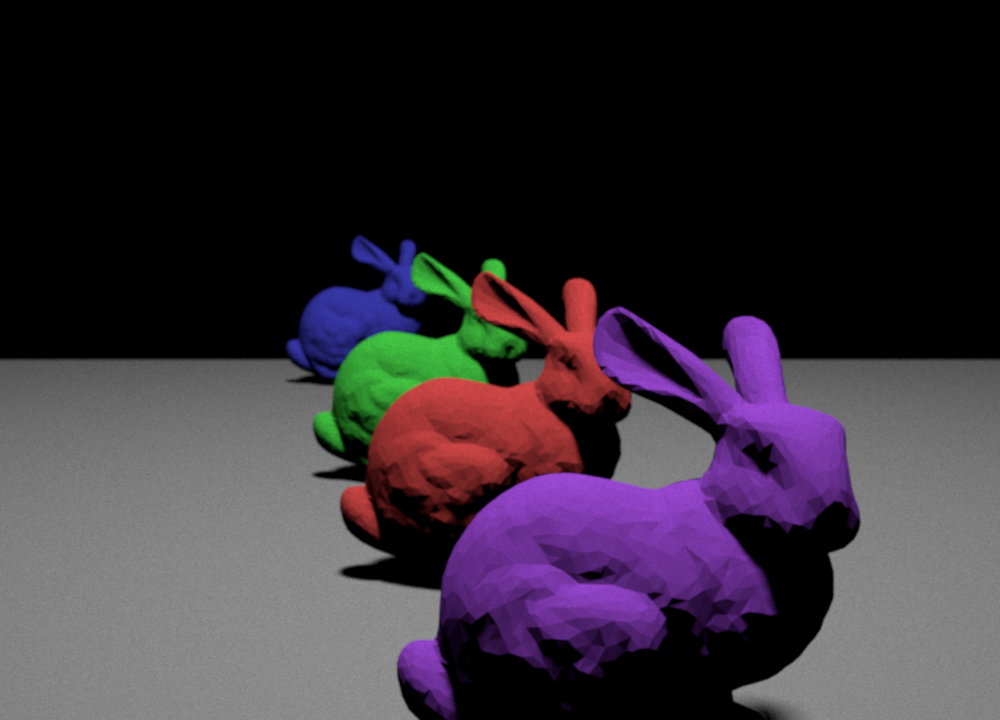
Aperture Diameter
These results nicely illustrate that closing the aperture results in a larger depth of field but a decrease in brightness.
filmDiagonal = 40 mm, focusDistance = 0.75 m

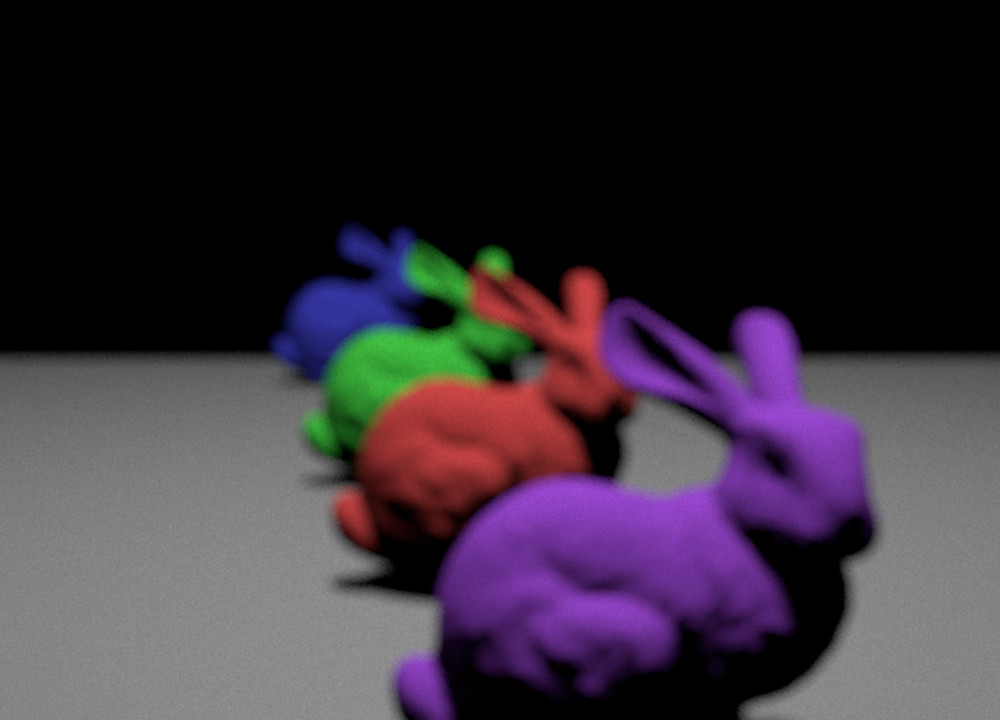

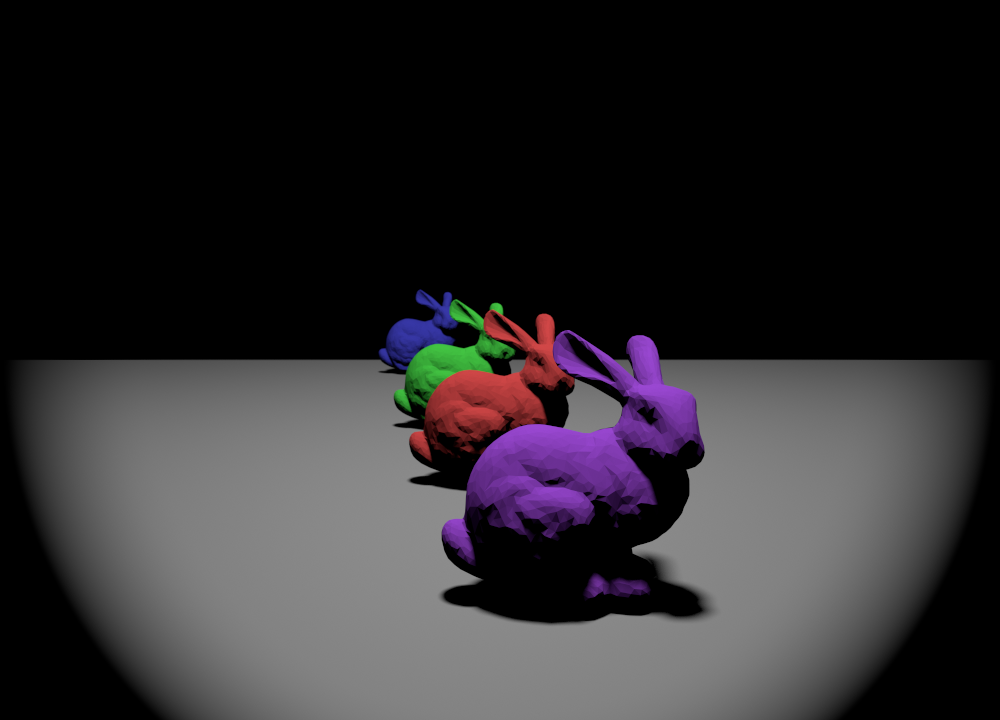
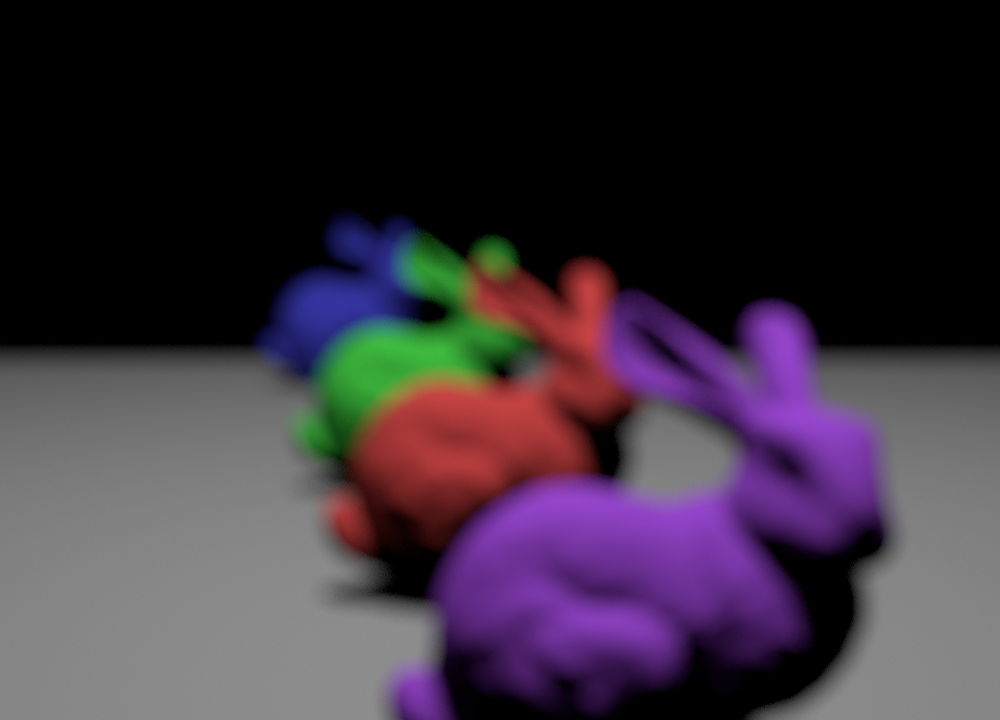
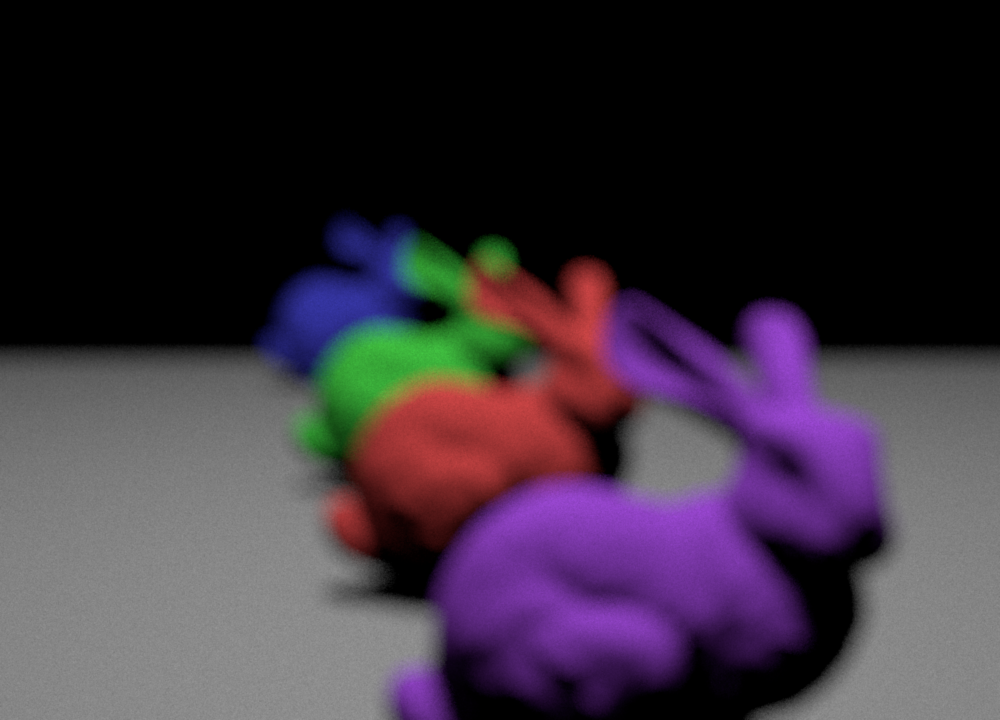
Focus Distance
These results illustrate that we can vary the depth of field also for the same aperture.
filmDiagonal = 40 mm, apertureDiameter = 6.08 mm

Note that the parameter filmDiagonal was varied from 70 mm in Part 1 to 40 mm in Part 2.
Therefore, changing this parameter was implicitly validated against PBRTv3 as well.